When it comes to how to make cheesy onion rings, comfort food that delivers both satisfaction and indulgence, few dishes can compete with perfectly crafted cheesy onion rings. This recipe transforms the classic appetizer into something truly extraordinary by incorporating melted cheese directly into the crispy coating, creating an irresistible combination that will have your taste buds dancing with joy.
Table of Contents
Why You Should Try This Incredible Cheesy Onion Rings Recipe
Learning how to make cheesy onion rings opens up a world of culinary possibilities for home cooks who want to elevate their appetizer game. Unlike traditional onion rings that rely solely on their crispy exterior, these cheesy versions provide an extra layer of richness and flavor that makes them absolutely addictive. The cheese creates a golden, bubbly coating that perfectly complements the sweet, caramelized onion interior.
This recipe is perfect for entertaining guests, treating your family to something special, or simply satisfying those late-night comfort food cravings. The beauty of homemade cheesy onion rings lies in their versatility – you can customize the cheese blend to suit your preferences, adjust the seasoning to your taste, and even experiment with different onion varieties for unique flavor profiles.
What makes this particular approach to how to make cheesy onion rings so appealing is its accessibility. You don’t need professional equipment or expensive ingredients to achieve restaurant-quality results in your own kitchen. The technique is straightforward enough for beginners while offering plenty of room for creativity and personalization.
These cheesy onion rings also make an excellent side dish for burgers, steaks, or barbecue meals, adding a gourmet touch to casual dining. The combination of crispy texture, melted cheese, and sweet onions creates a perfect balance that enhances any meal. Whether you’re hosting a game day party, preparing a family dinner, or simply wanting to try something new, this recipe delivers consistent, crowd-pleasing results every time.
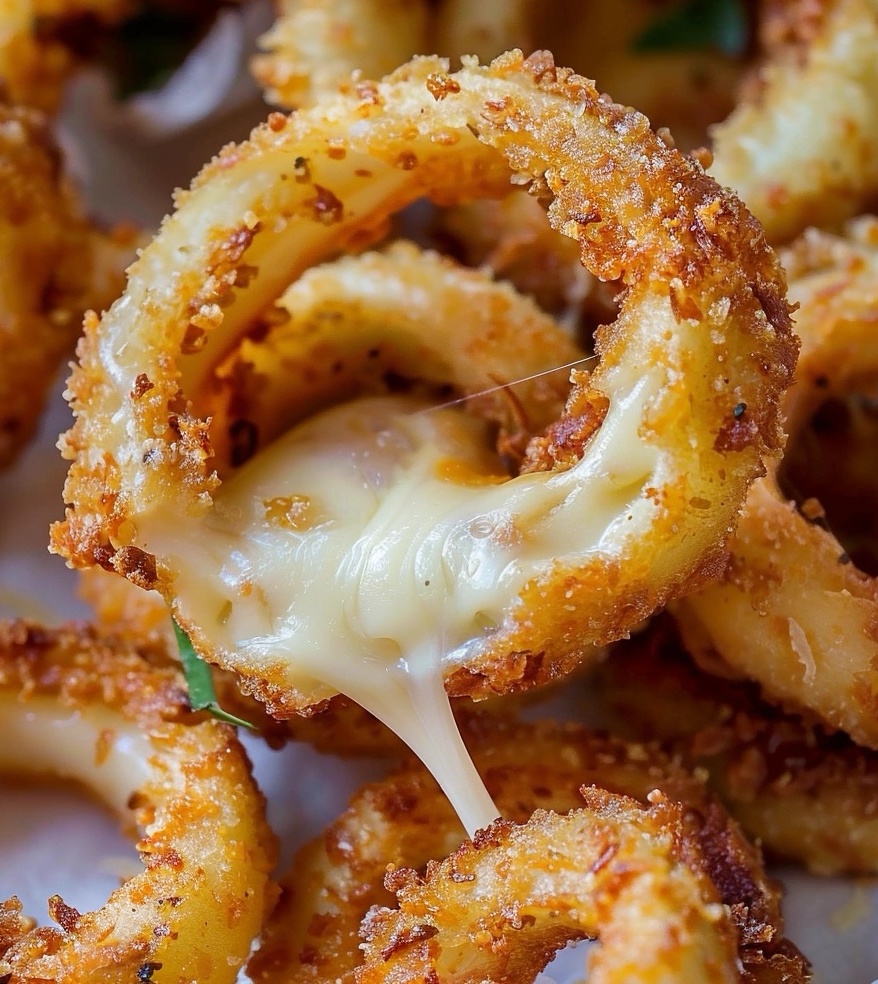
The Perfect Crispy Cheesy Onion Rings
Discovering how to make cheesy onion rings that achieve the perfect balance of crispy exterior and gooey cheese interior is a game-changer for any home cook. This recipe combines traditional onion ring techniques with innovative cheese incorporation methods to create an appetizer that’s both familiar and exciting. The secret lies in the specialized batter that holds shredded cheese while maintaining the light, crispy texture that makes onion rings so beloved. These cheesy onion rings offer a delightful twist on the classic, providing extra richness and flavor that elevates them from simple side dish to show-stopping appetizer.
Storage Options
Store leftover cheesy onion rings in an airtight container in the refrigerator for up to 2 days. For best results, reheat in a 375°F oven for 5-7 minutes to restore crispiness. Avoid microwaving as it will make them soggy. You can also freeze unbattered onion rings for up to 3 months, then thaw and prepare fresh when ready to serve.


This cheesy onion rings recipe
Equipment
- Large heavy-bottomed pot or deep fryer
- Candy/frying thermometer
- Large mixing bowls (2-3)
- Wire cooling racks
- Paper towels
- Sharp knife
- Cutting board
- Measuring cups and spoons
- Whisk
- Tongs or slotted spoon
- Baking sheet
Ingredients
- For the Onion Rings:
- 2 large sweet onions Vidalia or yellow, cut into 1/2-inch thick rings
- 2 cups all-purpose flour divided
- 1 cup shredded sharp cheddar cheese
- 1/2 cup shredded mozzarella cheese
- 1 1/4 cups cold buttermilk
- 1 large egg
- 1 teaspoon garlic powder
- 1 teaspoon onion powder
- 1 teaspoon paprika
- 1/2 teaspoon cayenne pepper optional
- 1 teaspoon salt
- 1/2 teaspoon black pepper
- Vegetable oil for frying about 6-8 cups
- For Serving:
- Ranch dressing
- Spicy mayo
- Ketchup
Instructions
- Prepare the onions: Slice onions into 1/2-inch thick rounds and separate into individual rings. Pat dry with paper towels and set aside.
- Set up breading station: Place 1/2 cup flour in one bowl for dredging. In a second bowl, whisk together buttermilk and egg until smooth.
- Make cheese batter: In a third bowl, combine remaining 1 1/2 cups flour, both cheeses, garlic powder, onion powder, paprika, cayenne, salt, and pepper. Gradually whisk in the buttermilk mixture until you have a thick, smooth batter.
- Heat oil: In a heavy pot, heat oil to 375°F (190°C). Use enough oil so rings can float freely.
- Bread the rings: Dredge each onion ring in plain flour, then dip into the cheesy batter, allowing excess to drip off.
- Fry in batches: Carefully lower 4-5 rings into hot oil. Fry for 2-3 minutes until golden brown and crispy. Don’t overcrowd the pot.
- Drain and serve: Transfer to wire racks or paper towels to drain. Serve immediately while hot and crispy.
Notes
Tips for Success
Always pat onion rings completely dry before breading to ensure proper batter adhesion. Work in small batches to avoid overcrowding, which lowers oil temperature and results in soggy rings. Let the batter rest for 5 minutes before using to allow the flour to fully hydrate. Use a thermometer to monitor oil temperature consistently, and adjust heat as needed to maintain 375°F.
Additional Tips and Variations
Cheese Variations: Try pepper jack for heat, Swiss for nuttiness, or a Mexican blend for complex flavor. Onion Options: Sweet onions work best, but red onions add color and slight bite. Spice It Up: Add hot sauce to the batter or increase cayenne for heat. Herb Addition: Fresh chopped chives or dried herbs can enhance flavor. Gluten-Free Option: Substitute with gluten-free flour blend for those with dietary restrictions.
Frequently Asked Questions (FAQ)
Q: Can I make these ahead of time? A: It’s best to serve immediately, but you can prep onions and batter separately up to 4 hours ahead.
Q: Why is my cheese not melting properly? A: Ensure oil temperature is correct (375°F) and don’t overcook, as high heat can cause cheese to seize.
Q: Can I bake these instead of frying? A: While frying gives best results, you can bake at 425°F for 12-15 minutes, flipping halfway through.
Q: What’s the best oil for frying? A: Vegetable oil, canola oil, or peanut oil work well due to their high smoke points.
Q: How do I prevent soggy onion rings? A: Maintain proper oil temperature, don’t overcrowd, and drain on wire racks rather than paper towels.
Conclusion
Mastering how to make cheesy onion rings transforms an ordinary appetizer into an extraordinary culinary experience. This recipe delivers the perfect combination of crispy texture, melted cheese, and sweet onion flavor that will impress family and friends alike. With proper technique and attention to detail, you’ll consistently achieve restaurant-quality results that make these cheesy onion rings a new household favorite. The versatility of this recipe allows for endless customization, ensuring you’ll never get bored with this delicious comfort food classic.